A common question when installing drip edge on a roof is whether drip edge goes over or under the felt underlayment? This seems to be controversial among roofers, so I did a lot of research to find the answer.
Does Drip Edge Go Over or Under Felt? According to most building codes and manufacturer recommendations, the drip edge should be installed beneath the underlayment along the eaves of the roof. But over the underlayment along the rake edges of the roof.
Understanding the proper way to install the drip edge will only get you so far. It is much more important to understand the reasons why behind it.
Click Here To Check Out My Roofing Gear Guide and See What Tools You’ll Need!
What are the Purposes of Drip Edge?
What is Drip Edge?
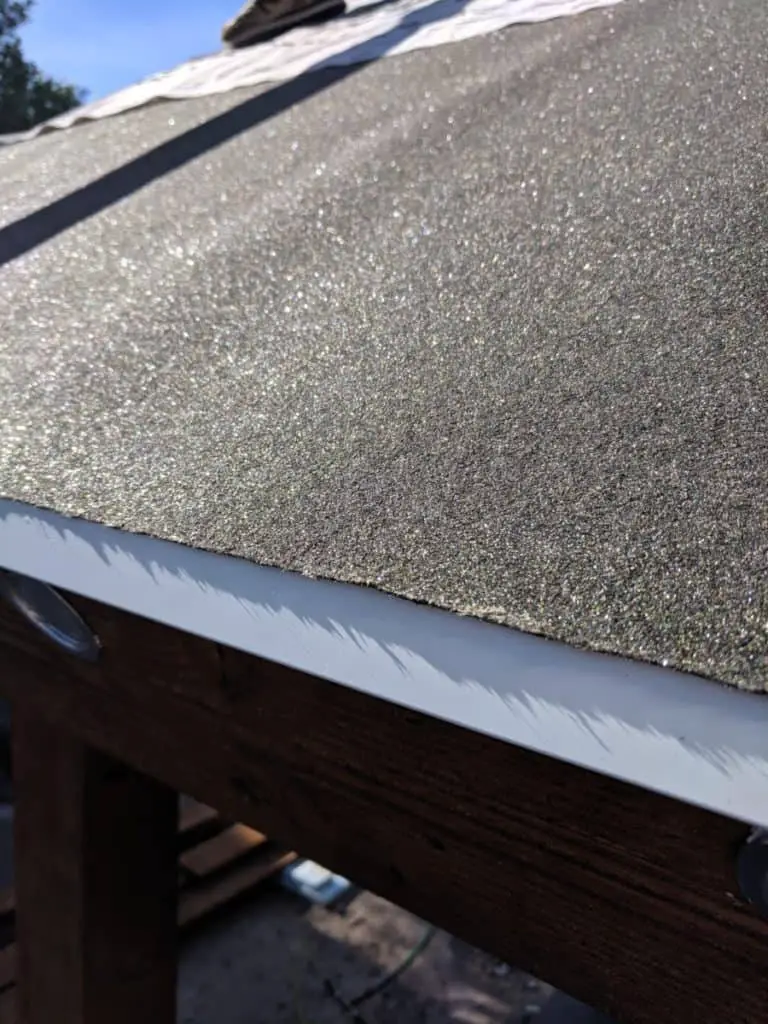
Drip Edge is a thin metal flashing that is applied to the edges of your roof underneath the shingles. The main purpose of the drip edge is to direct the flow of water away from the fascia board and to help protect the rakes and eaves of your roof.
Drip Edge is commonly made of steel that is galvanized or covered in a protective coating like galvalume or a painted finish. You may also find it made from other materials like aluminum, copper, or vinyl.
Worried About Doing the Work Yourself?
I recommend finding a professional roofing contractor through our trusted partner Home Advisor because they allow you to get up to 4 quotes for free. This allows you to compare and choose the best roofing professional for your needs. Check them out by clicking this link.
Purposes of Drip Edge:
- Prevents wind-driven rain from seeping into the wood decking and cause rotting over time.
- Directs runoff water away from the fascia board and edges of the building. (Similar to a pour spout on a liquid measuring cup.)
- Protects against insects and pests entering in between the deck and facial boards.
- Guards against any movement between the deck and facial boards.
- Helps to protect the edge of the roof during ice dams that can occur during the cold season.
- Works with the gutter system to move water off the roof.
- Extends the life of your roof.
- Helps your roof look complete, neat, and clean.
- Seals any possible gaps that may occur at the bottom of the roof.
- Prevents small animals and pests from entering the attic.
Why Should the Drip Edge be Above the Underlayment along the Rake Edges of the Roof?
The main reason why most building codes require, and why most manufacturers recommend installing drip edge over the underlayment along the rake edges is to seal the edges of the roof and protect from wind-driven rain.
By installing the drip edge over the underlayment, it closes off the edges of the underlayment preventing water from entering the side of the underlayment and traveling underneath to the wood decking.
If not installed properly, you risk damaging the wood decking. In time, this may lead to rotting wood and roof leaks.
What are the Rake Edges of the Roof?
The rake edge of a roof is the outer edge that extends from the eaves or the bottom edges of the roof to the top of the ridge. Two rake edges form a gable or a triangular point on the roof.
Why Should the Drip Edge be Installed Underneath the Underlayment Along the Eaves of the Roof?
The reason why drip edge should be installed below the underlayment along the eaves of the roof is so that water does not get under the drip edge.
When installing anything on a roof, you need to follow the water rule. The water rule means you consider where water will run when it’s on the roof. This means you layer everything on the roof so that water won’t get underneath anything.
For example, shingles are first installed at the bottom of a roof, then they are layered on top of each other working up the slope. This way water will run down the shingles smoothly.
The same goes for drip edge if you put drip edge on top of the underlayment water will flow right under the drip edge and onto the fascia board. This will eventually damage the fascia board and may cause roof leaks.
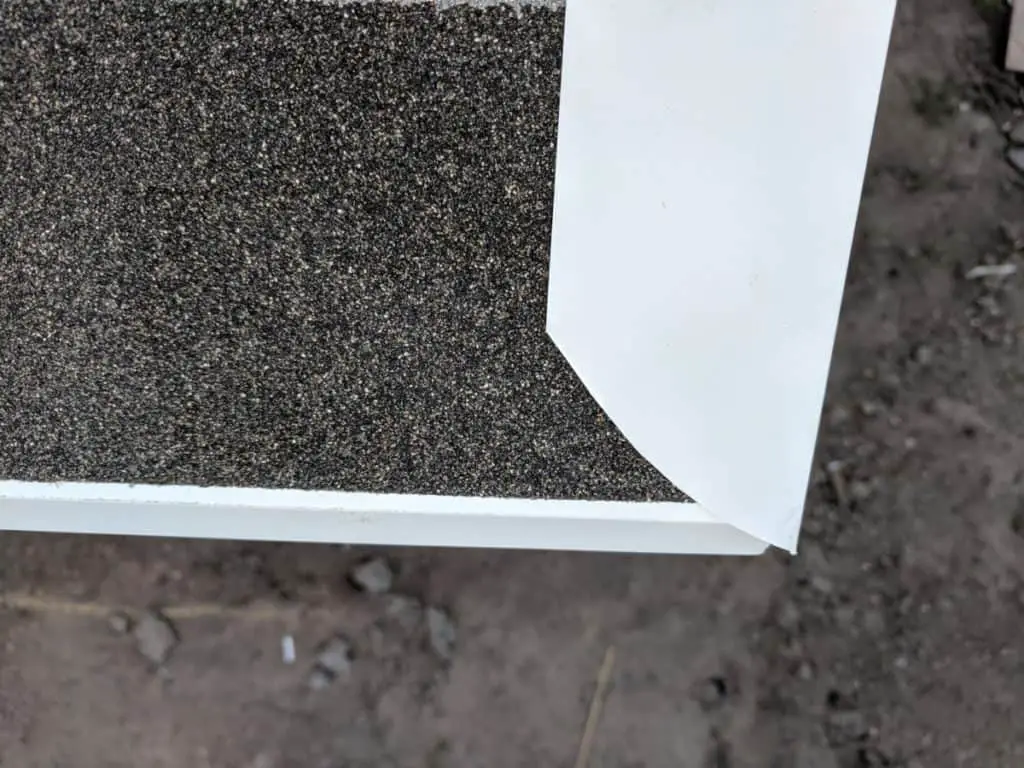
However, if you cover the drip edge with the last layer of the underlayment, then water will run off the underlayment and over the drip edge with no problem.
Click Here to See 5 Easy Ways to Measure the Pitch of Your Roof
Some codes like those in Florida say that drip edge can be installed either over or below the underlayment. If it is installed above the underlayment, then they also require a 4-inch wide layer of roof cement to be applied on top of the drip edge. That way water cannot flow underneath the drip edge.
What is an Eave?
The eave of a roof is the bottom edges of the roof that meet or overhangs the walls of the building.
What Type of Drip Edge Should I Use?
When it comes down to it all drip edge performs the same purpose so it doesn’t matter a lot when choosing the type of drip edge. It mostly comes down to style preferences and some other small differences.
There are 3 types of drip edge with multiple names for the same thing. Listed in order of how common they are used the 3 types are:
- Standard 90 Degree, or L-Style, or Type C Drip Edge
This type of drip edge is the most commonly used type of drip edge. Its shape is described by its name because it makes a 90 degree L shape. This drip edge is the most commonly used style as of today and it is all the cheaper most cost-effective choice. This is a great choice for any standard roofing project like a home or a shed. It works great with gutters and is the most affordable.
2. T-Style, or Type D Drip Edge
Type D drip edge is an older style of drip edge that is not commonly used today and may be found on older homes. This type of drip edge is not the best choice to use when you have gutters. Likewise, if you don’t have gutters, this drip edge would be a good choice because it directs water away from the building. This type would be a good choice for a shed that doesn’t have any gutters.
3. Type F, or Gutter Apron, or Wide Faced Drip Edge
This type of drip edge is not as common as the standard L-style. Type F drip edge has a wider face, meaning it extends several inches past the minimal 2- inch requirement. This makes it perfect for jobs where you need to cover the previously installed drip edge like a 2nd layer.
How Much Does Drip Edge Cost?
Drip edge is usually sold in 10 ft to 10.5 ft pieces. The cost of drip edge varies depending on what type it is and other factors like location. In general, the cost ranges are:
- L-Style or Type C: About $0.49 – $0.79 per foot
- T-Style or Type D: About $0.60 – $0.89 per foot
- F-Style or Type F: About $1.30 – $1.60 per foot
Building Codes for Drip Edges
Building codes for drip edges may vary per location. But in general, the building codes for drip edges are:
- Must be installed at the rakes and eaves of the roof
- Adjacent pieces of drip edge should overlap at least 2-inches (51 mm).
- The drip edge should extend at least 2-inches on the roof.
- The vertical leg of the drip edge should be at least 1.5 inches wide and extend at least 0.25 inches below the sheathing.
- The spacing between the nails on the drip edge should be less than 12 inches apart.
This information was taken from the 2018 International Building Code (IBC).
Related Questions:
Can Drip Edge be Installed After Shingles? Drip edge can be installed after shingles have been put on. Simply lift up the lower ends of the shingles to place the drip edge. But make sure to put the drip edge underneath the felt underlayment along the eaves so water cannot get below the drip edge.
What type of Drip Edge is Best for a Shed? The best type of drip edge for a shed would be Type C or Type D. Type C or the L-style is great for a cheap standard drip edge. Type D is also a good choice because its T-shape style is great for roofs without gutters because it directs water away from the walls. I would discourage Type F because it’s not necessary for a shed.
Is Drip Edge Required by Building Codes? Drip Edge is required by code according to the 2018 International Building Codes (IBC). Note: Your local building codes may have some variations. When your local codes say something different, it is best to follow your local building codes.